
raid 5에 대해 디스크 획득하여 시스템 구성하려고 하려고 아래 Encase내용 참고해서 진행했으나 안됨 ㅋㅋㅋㅋㅋ
그래서 x-ways 로 함...그래도 이건 참고용으로 남김
추후 X-WAYS 에 대해 서술하겠음
--------------------------------------------------------
EnCases 성공, x-ways실패...이유는 x-ways가 된줄알았는데 알고본니 자동의 문제점이 mft에 대해 제대로 파싱이 되지않음
그래서 EnCase에서 수동으로 계산하여 파티션 시작주소, 전체 사이즈 등을 입력하여 mtf가 올라온것을 확인함.
음...짱나...
출처 : https://medium.com/dfclub/how-to-combine-raid-array-images-in-encase-836856cfd893
How to Combine RAID Array images in EnCase.
Guid on merging multiple RAID images (.001, .E01, etc.) into one forensic image with EnCase Forensic 8.

RAID — Redundant Array of Independent Disks.
EnCase — Forensic software by Guidance Software.
./START
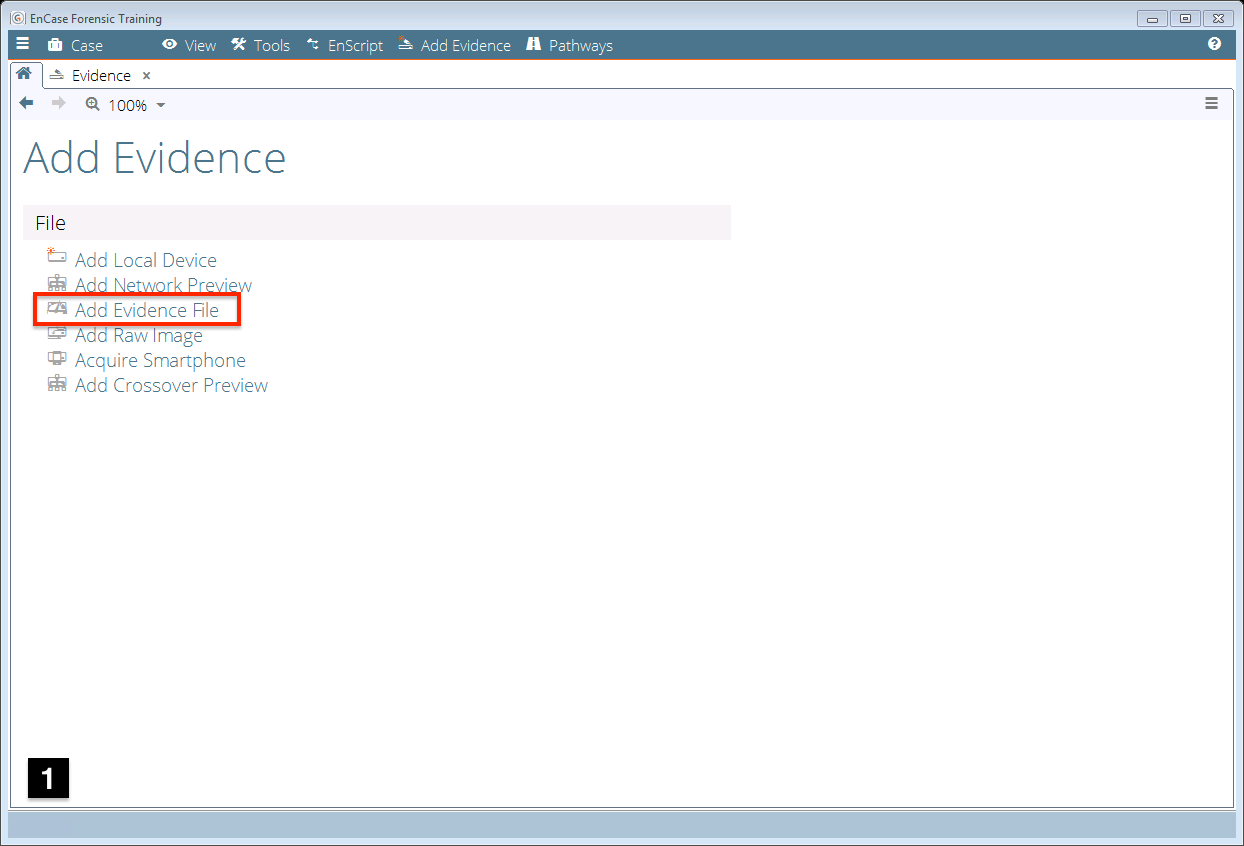
1. At the Home screen click “Add Evidence File”
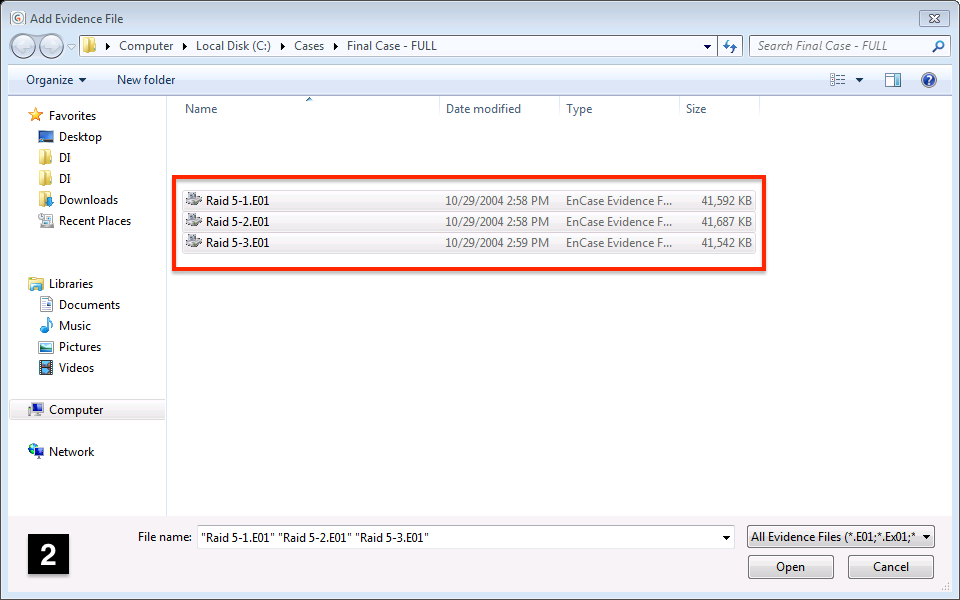
2. Select ALL RAID images and click Open.
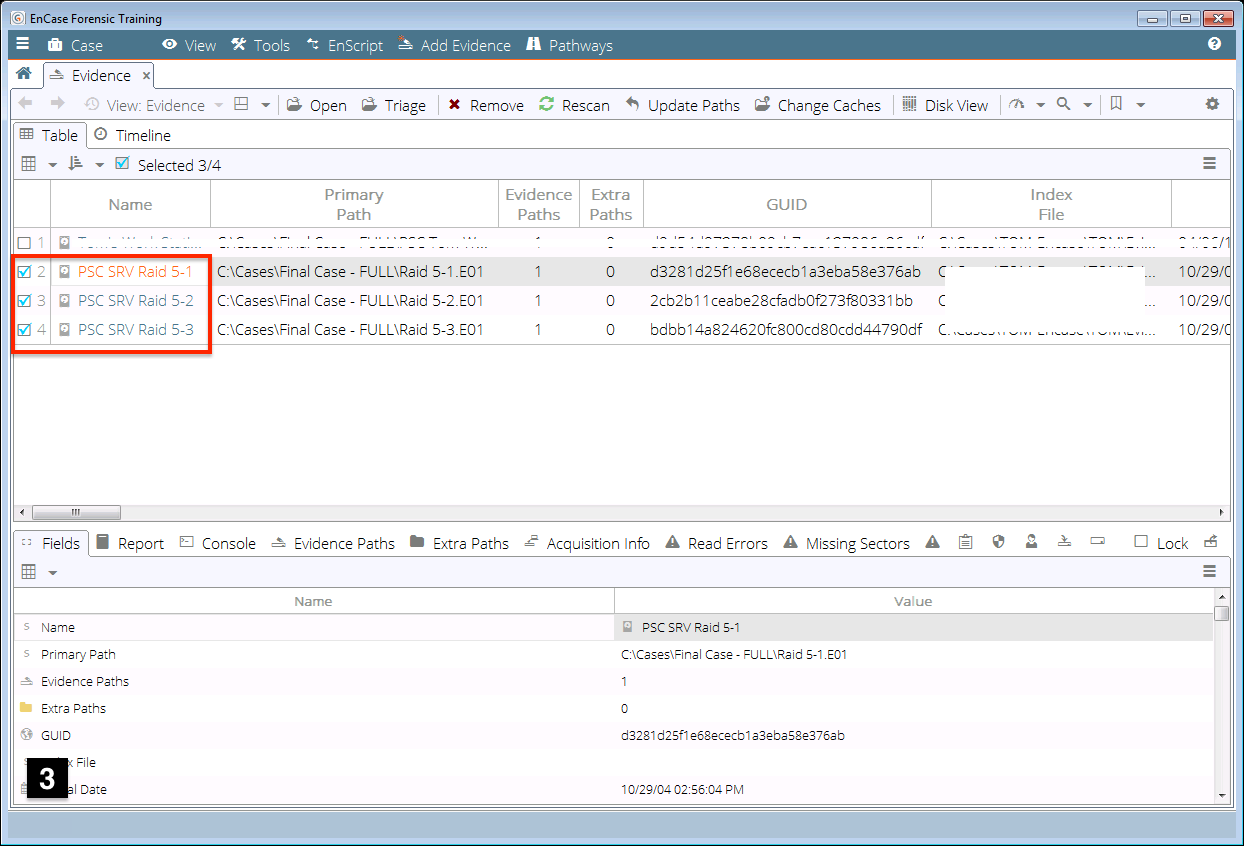
3. Checkbox all images in the RAID.
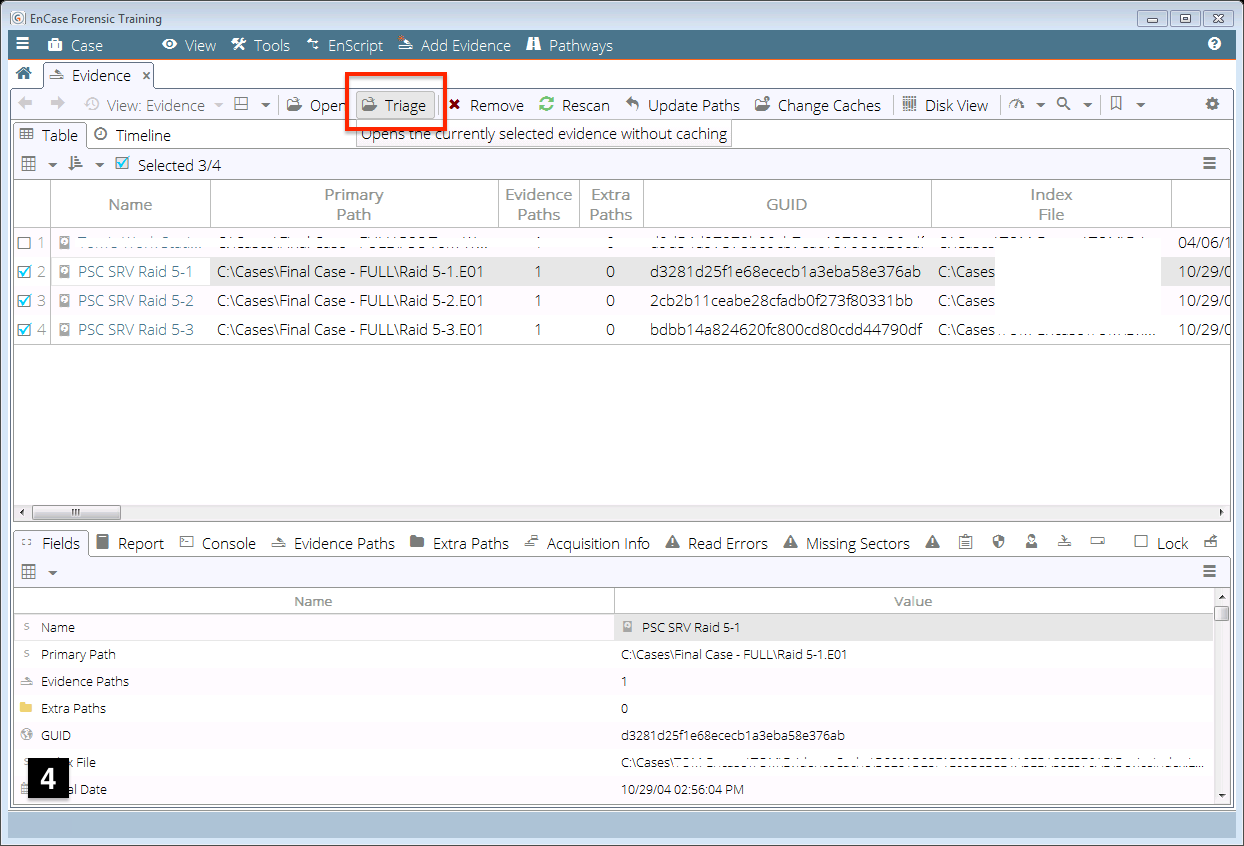
4. With all RAID images checkmarked, click “Triage”.
*NOTE: if “Triage” does NOT work, try “Open” instead.
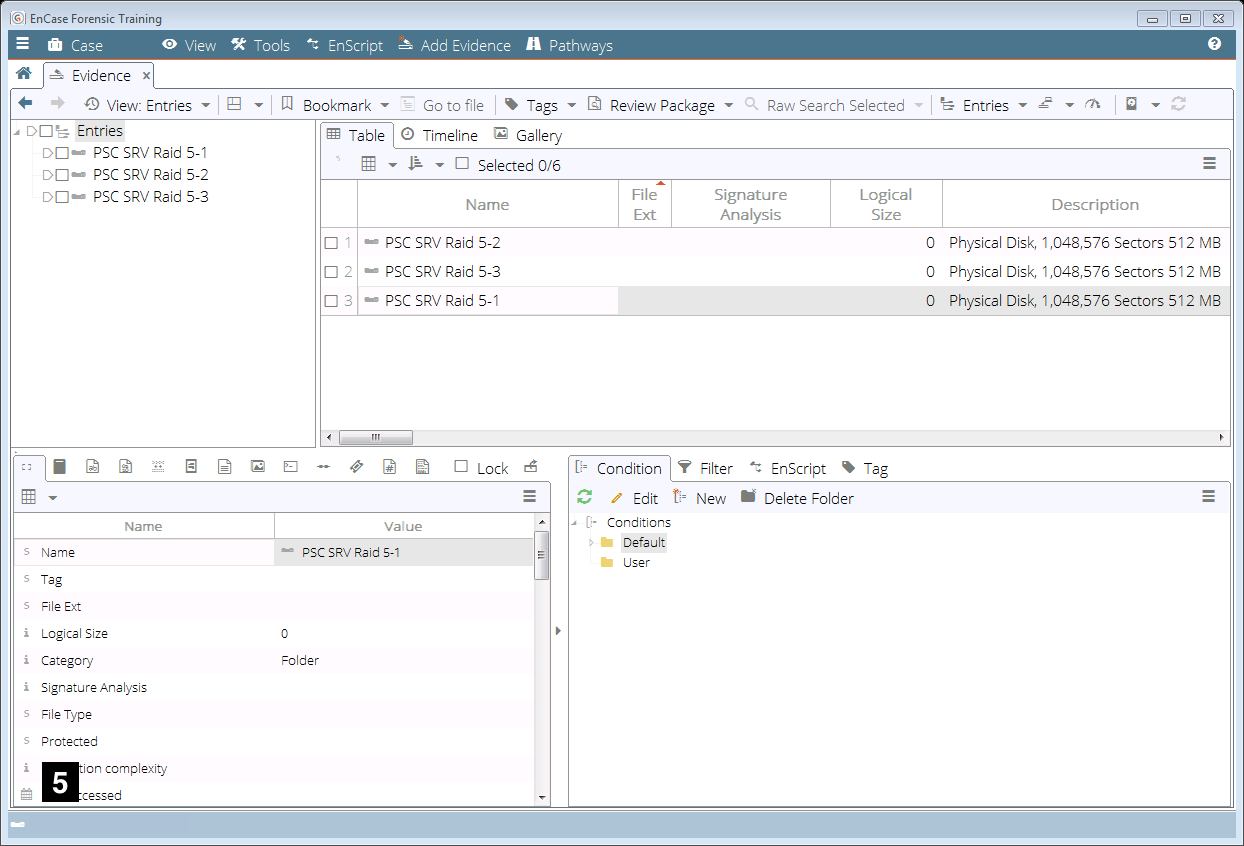
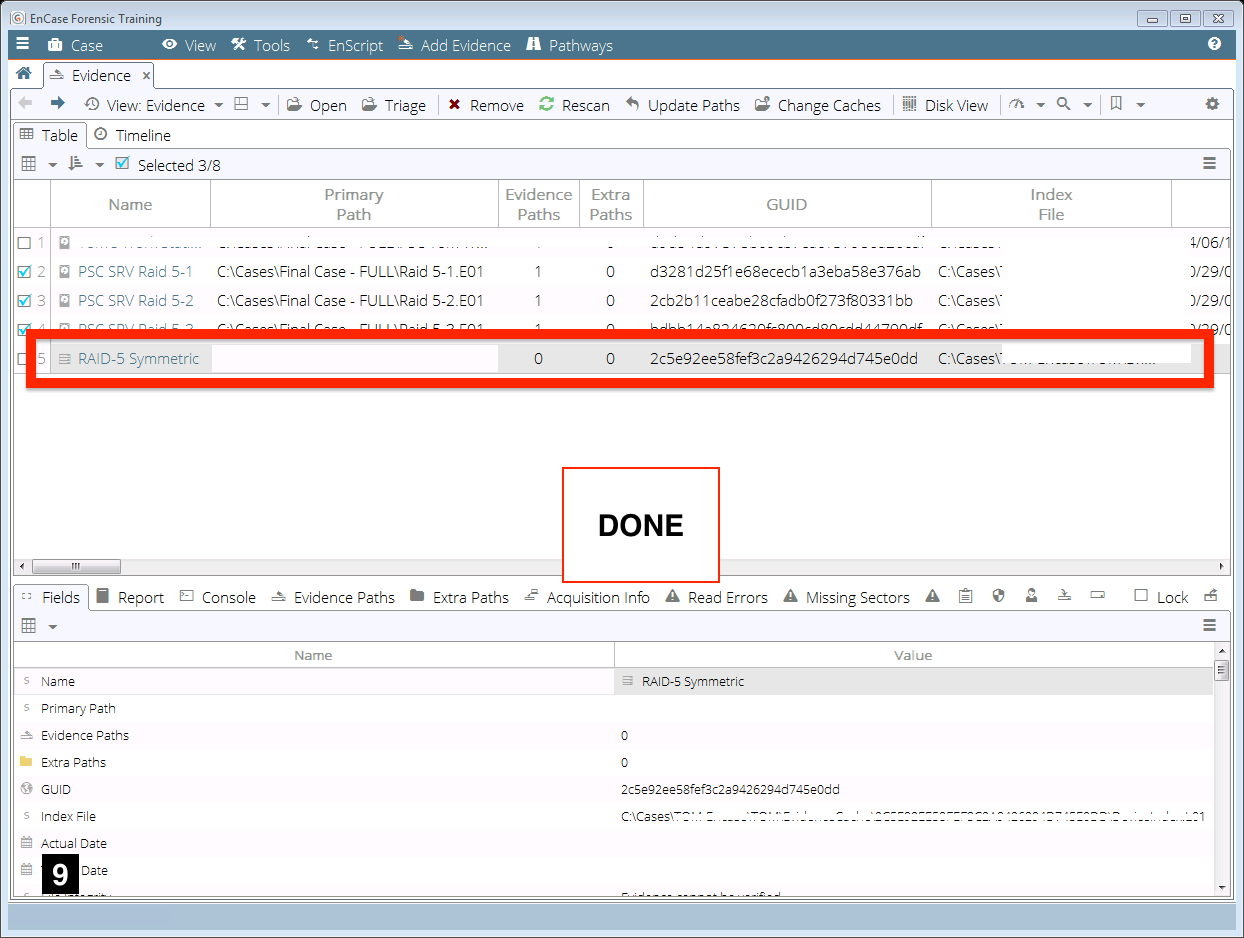
5. If Successful you will arrive at this page.
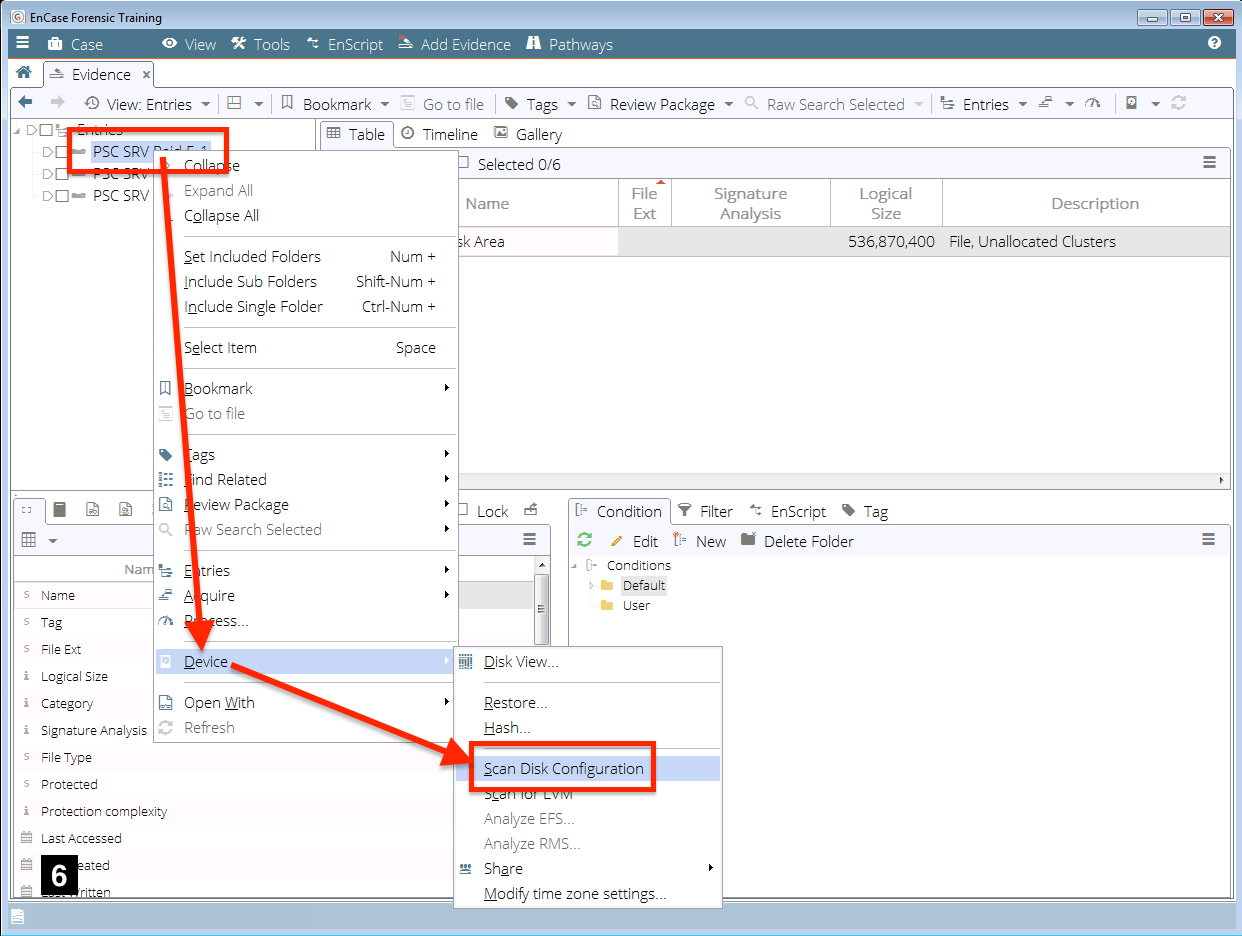
6. Right-click the first RAID image, goto “Device”
Click “Scan Disk Configuration”
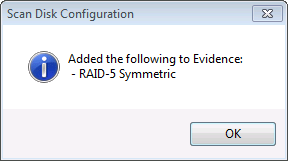
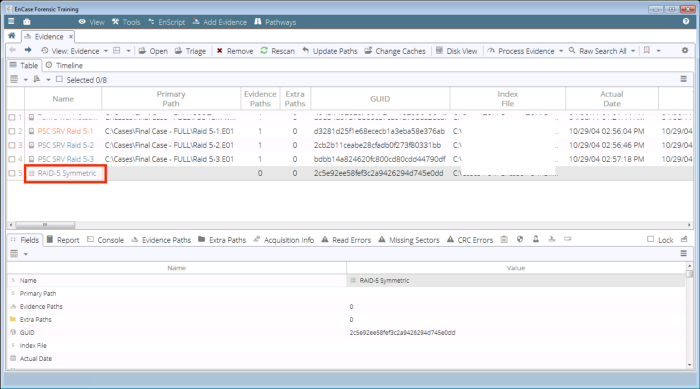
7. On Success, a message box should confirm the images were “Added”
8. Click “Back”
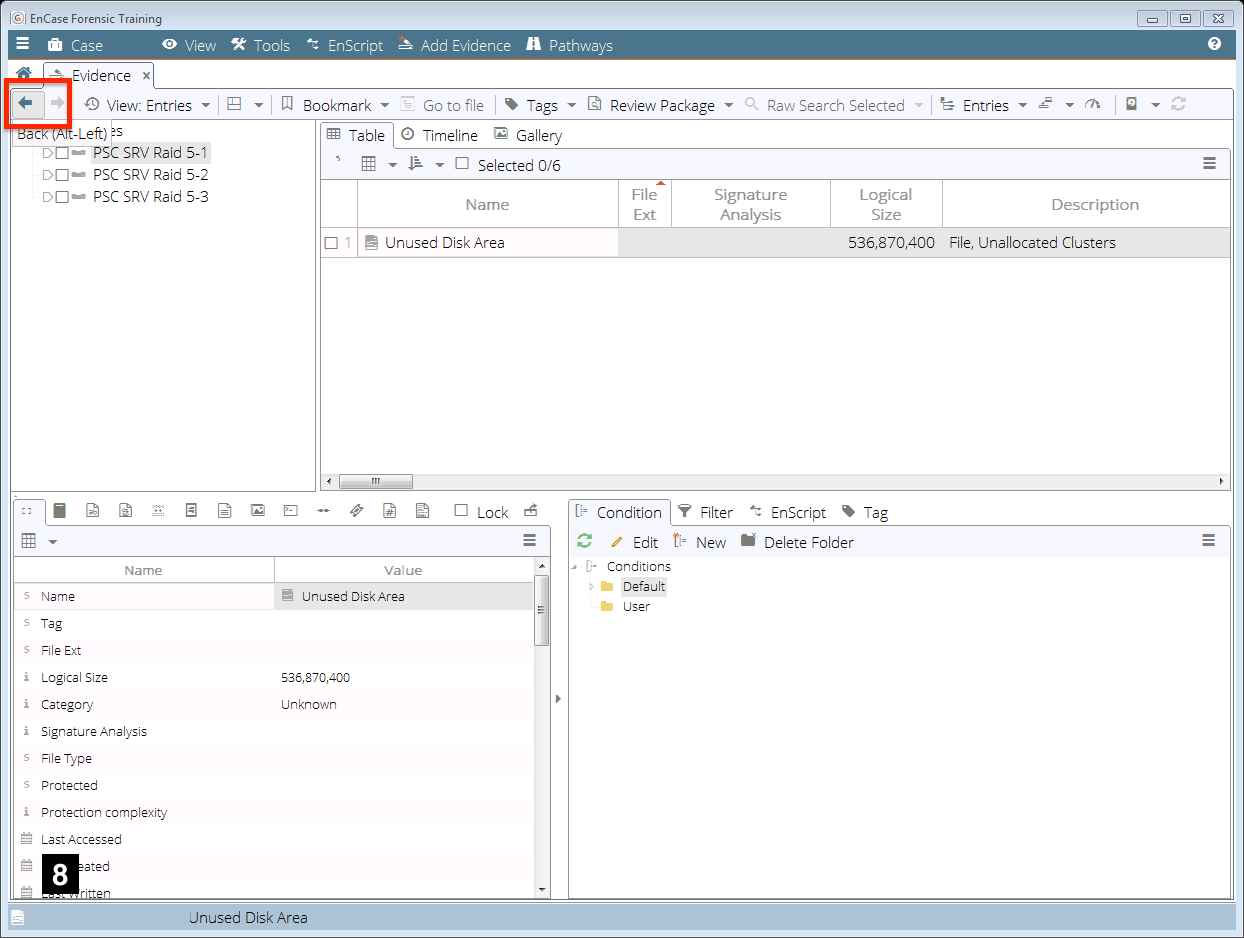
9. You should now have a complete single Image.
./END
HOW TO EXPORT NEW IMAGE
./START
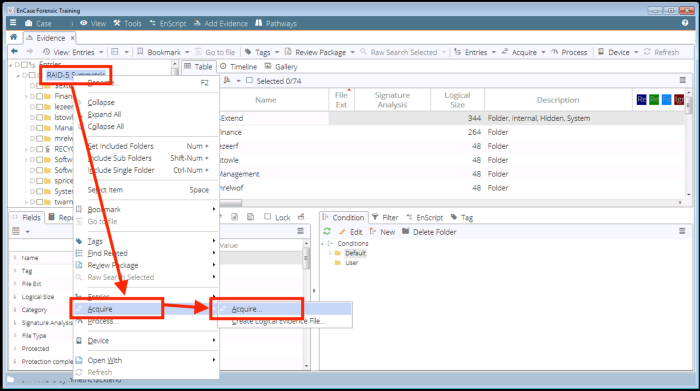
1. Click into new created image.

2. Right-Click image.
GoTo “Acquire” then “Acquire”.

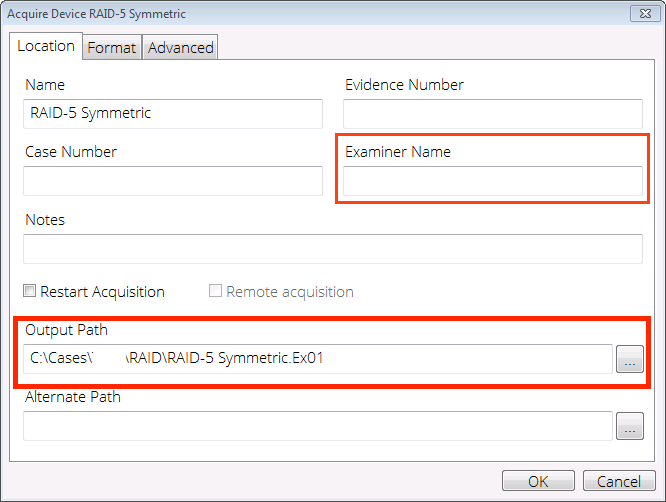
3. Change Path to where you want to Exported Image.
Select where you want to output file to be created.
You may also be required to input “Examiner Name”.

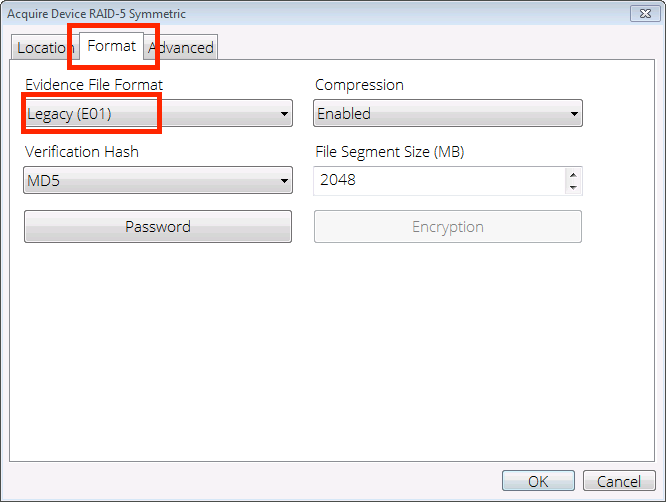
4. Click Format.
Make sure the “Format” is in “E01”.

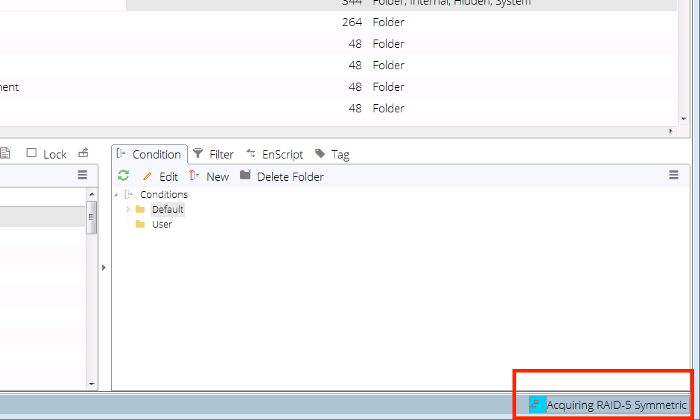
5. If Successful you should see “Acquiring…” at the bottom of EnCase.

./END
'포렌식 > 컴퓨터' 카테고리의 다른 글
| jump 리스트 분석 (0) | 2022.01.28 |
|---|---|
| 타임 스탬프 계산 프로그램 (0) | 2022.01.20 |
| Amcache (0) | 2021.12.17 |
| Message Analyzer (0) | 2021.11.08 |
| 플스 4 파티션 구조 (0) | 2021.04.15 |